

How to Install and Configure WP Super Cache Caching Plugin on WordPress
Encrypting your link and protect the link from viruses, malware, thief, etc! Made your link safe to visit.

Step 1. Installing WP Super Cache
- Login to your WordPress admin area
- One the left side of the screen you will see menu, press on Plugins tab and hit Add New
- Enter WP Super Cache in the Search Plugins field and hit Enter button.
- First search result will be WP Super Cache plugin. Press Install button in order to proceed and install it.
- Once installation is complete, press Activate Plugin button.


Step 2. Configuring WP Super Cache Plugin
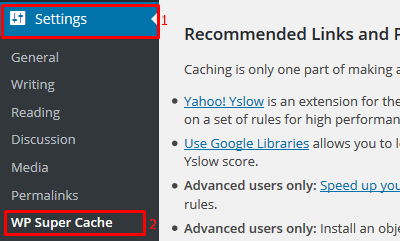
- On the left menu press Settings and choose WP Super Cache tab.
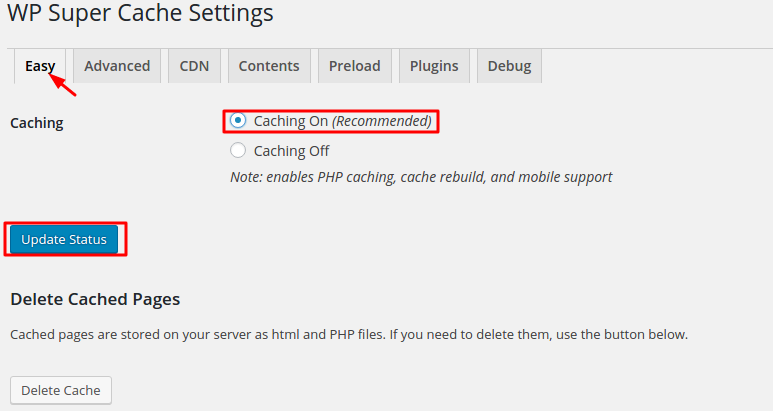
- You are now on Easy settings tab. Turn on caching by selecting Caching On radio button and hit Update Status button.
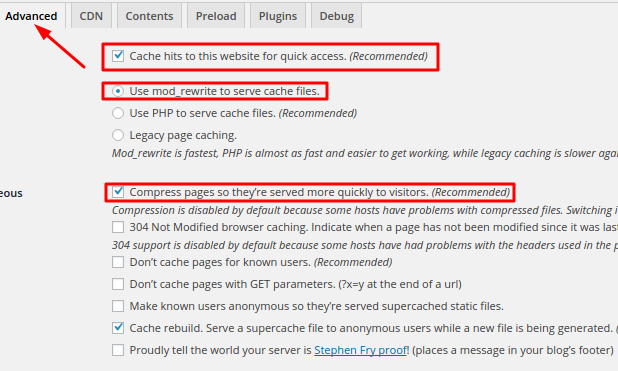
- If you want to take WordPress optimization to the next level and speed it up as much as possible, click on the Advanced tab and enable these settings:
- Press Update Status button to apply changes.
- Large yellow message box containing Mod Rewrite Rules should appear. Scroll down and press Update Mod_Rewrite Rules button.
- You should now see a green message labeled
Mod rewrite rules updated. It means that you successfully updated your .htaccess file and advanced WordPress caching is now enabled.


Link will be apear in 15 seconds.
Well done! you have successfully gained access to Decrypted Link.


0 Response to "How to Install and Configure WP Super Cache Caching Plugin on WordPress"
Post a Comment